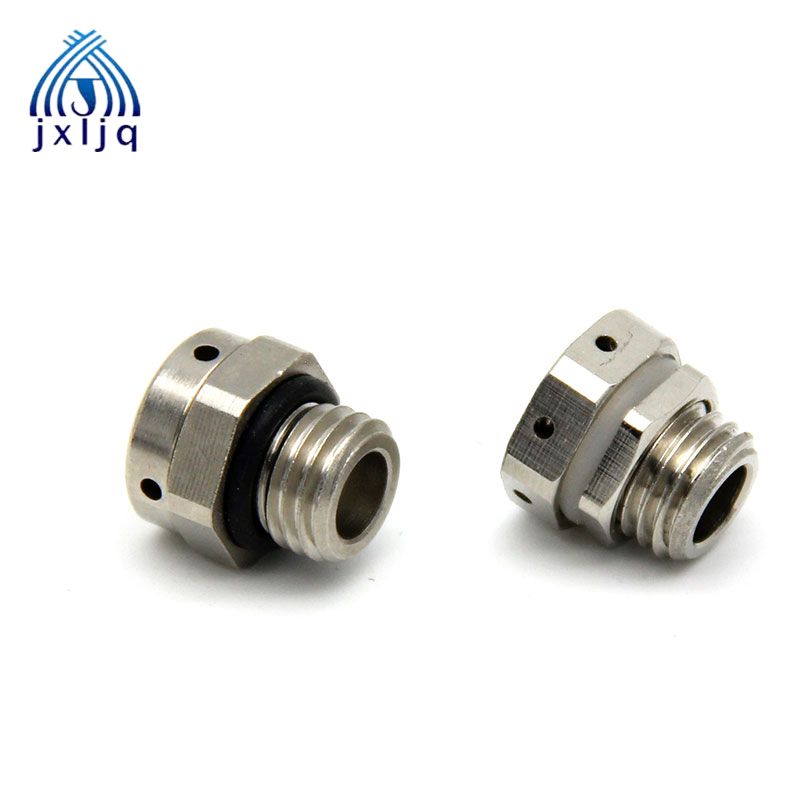
The Armoured Cable Gland, also called SWA cable gland, is applied for terminating steel-wire armoured (SWA) cables
and providing earthing, grounding, insulation and strain relief.
Due to the SWA cable being heavy and extremely difficult to bend, it is always found in underground systems, power networks and cable ducting.
It’s important to choose a high quality Armoured Cable Gland and ensure it can be used in the same harsh environment.
Select the correct type of Armoured Cable Gland, consider:
Other factors to consider are if the surrounding area is damp, dusty or any gases or corrosive materials around
Select the correct size of Armoured Cable Gland, consider:
And switch off all electrical equipment and disconnect any live wires.
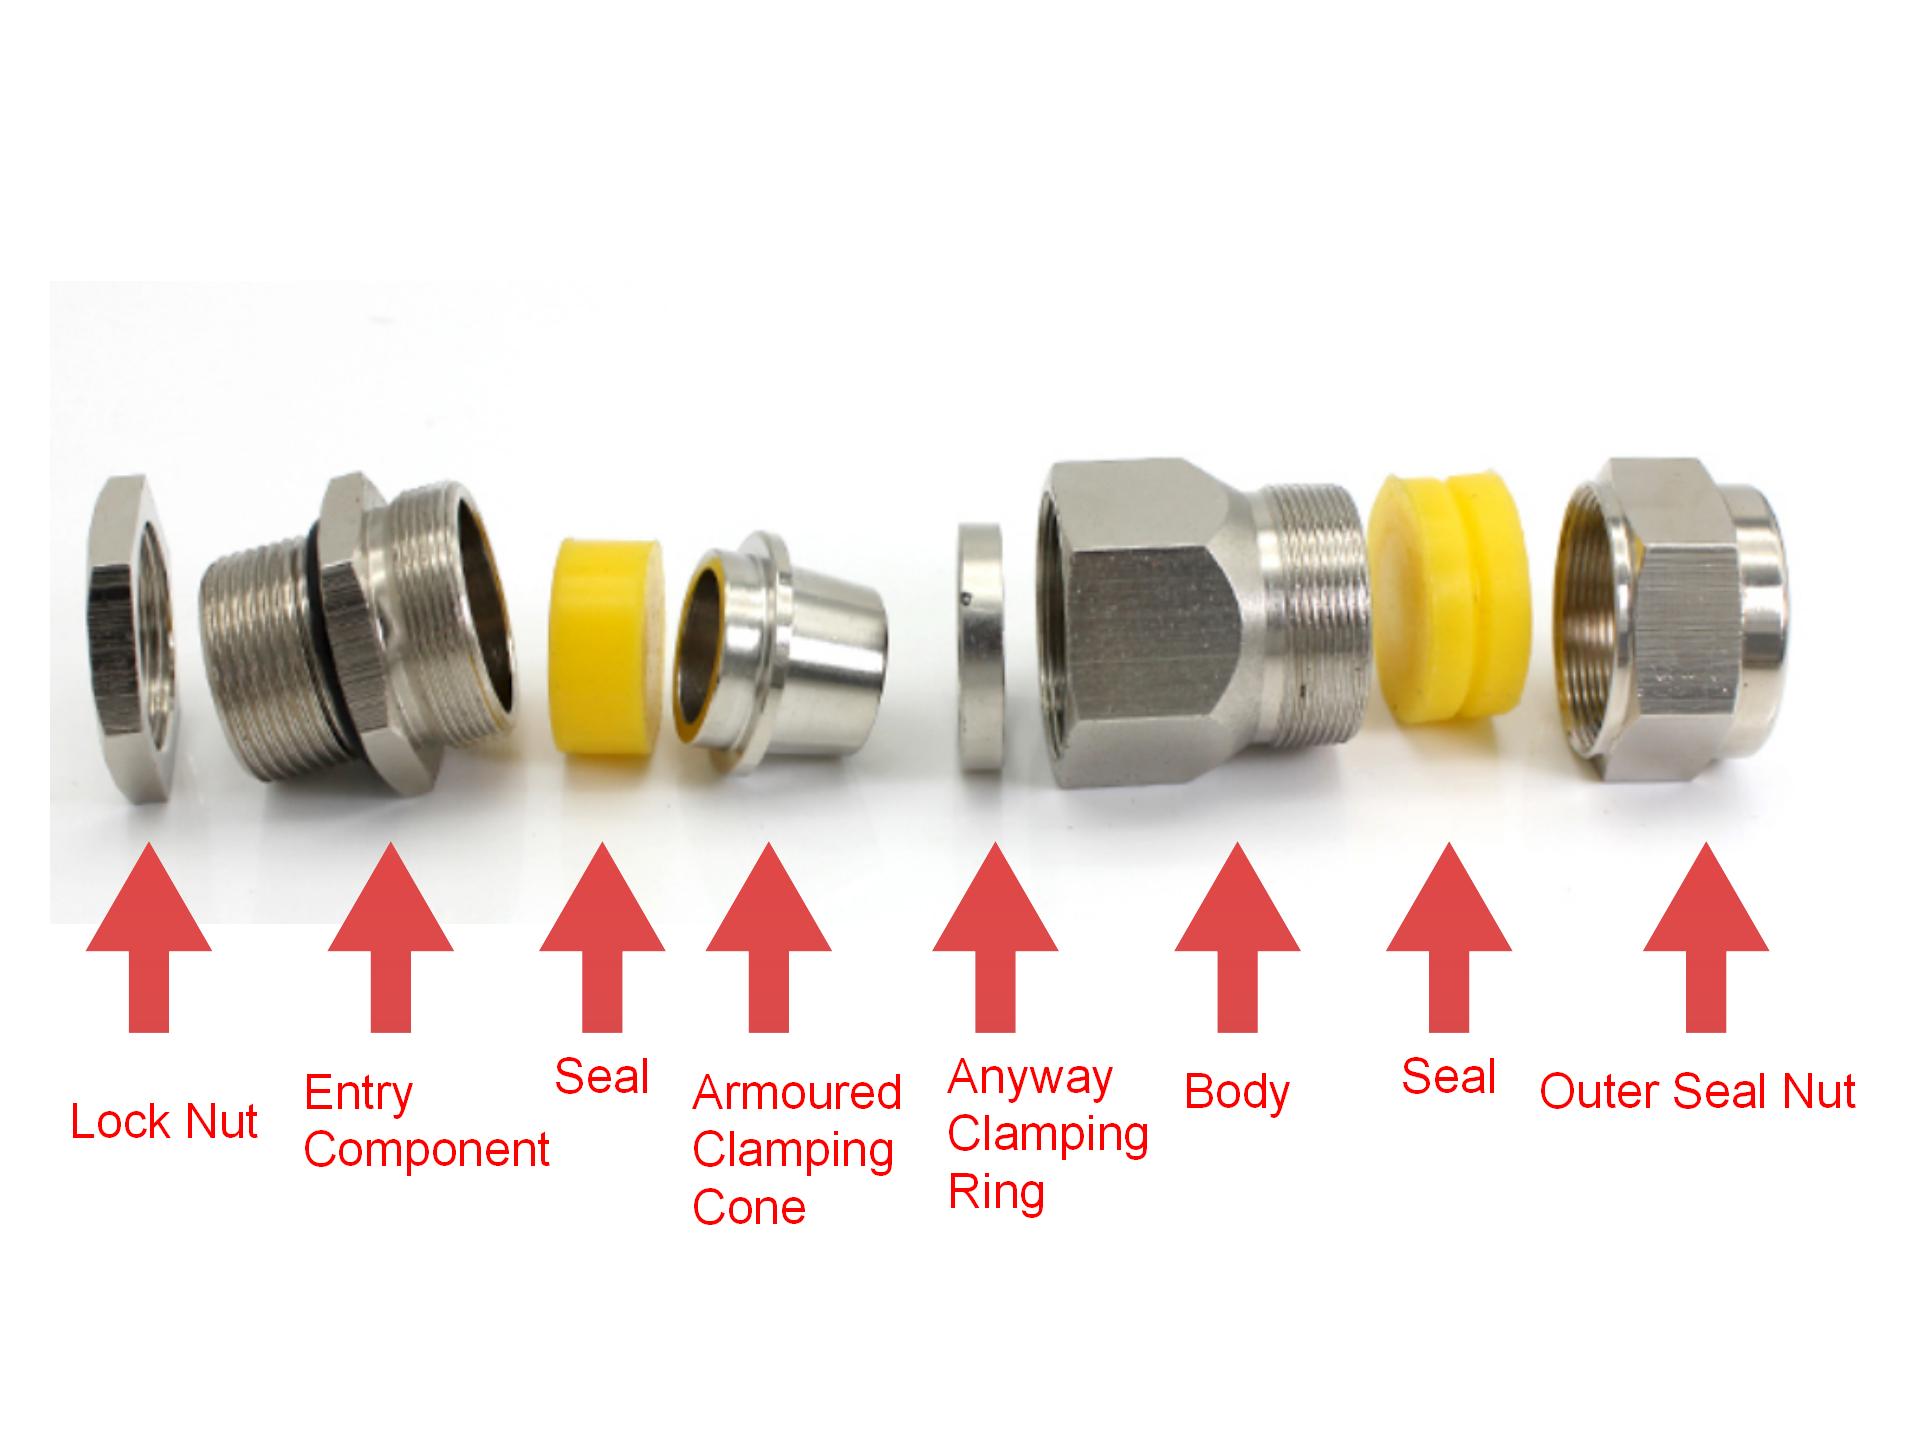
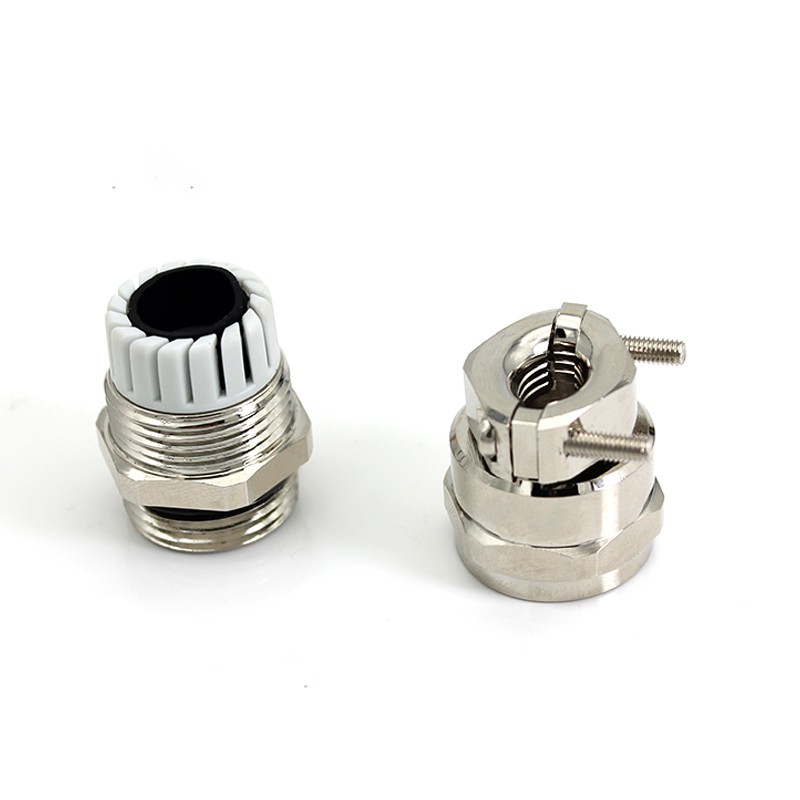
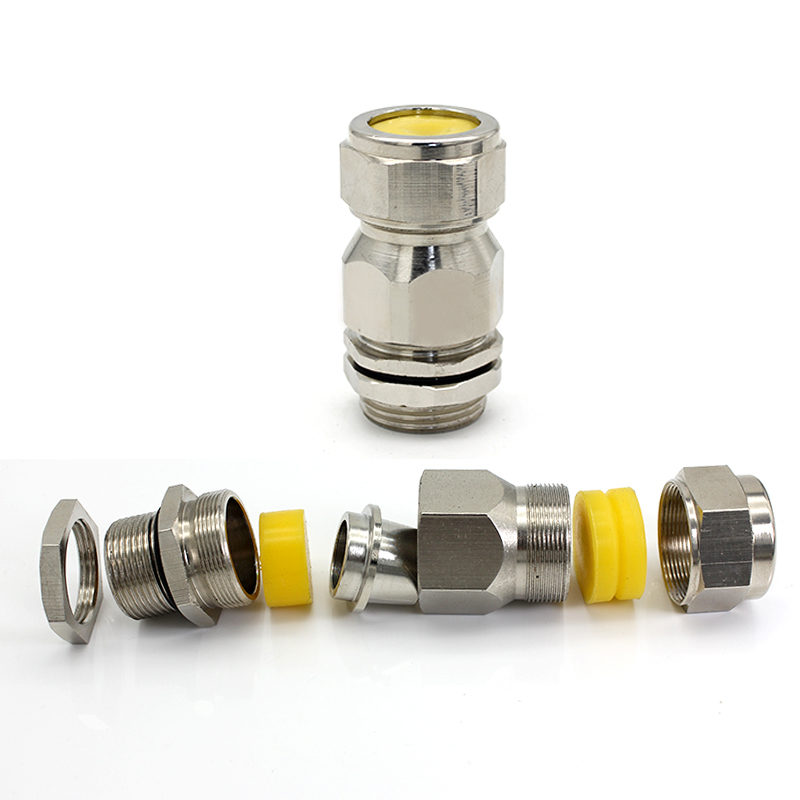
Step 1. Unscrewing the armoured cable gland
Unscrewing each parts of the armoured cable gland in the correct order, convenient for later use
Step 2. Fit the PVC shroud
The PVC shroud is used to provide a cover for the armoured cable gland for aesthetic and protection reasons.
Cut the end off the protective cover and slide this onto the wire, make sure it is facing the correct way!
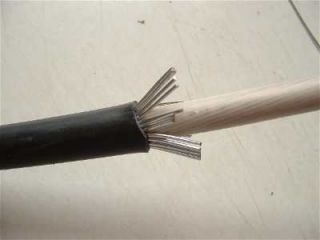
Step 3. Remove the protective sheath of the cable
Simply slice this with a suitable knife, remove the protective sheath, the length depends on the type of
the armoured cable gland you’re using, you can find the steel wires sticking out.
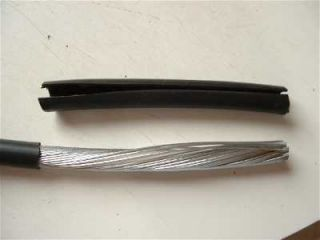
Step 4. Strip the armouring layers
You use a hacksaw you can lightly score the steel wire and then bend it back and forth to break it off.
Regarding the thin SWA cable, you can use side cutters.
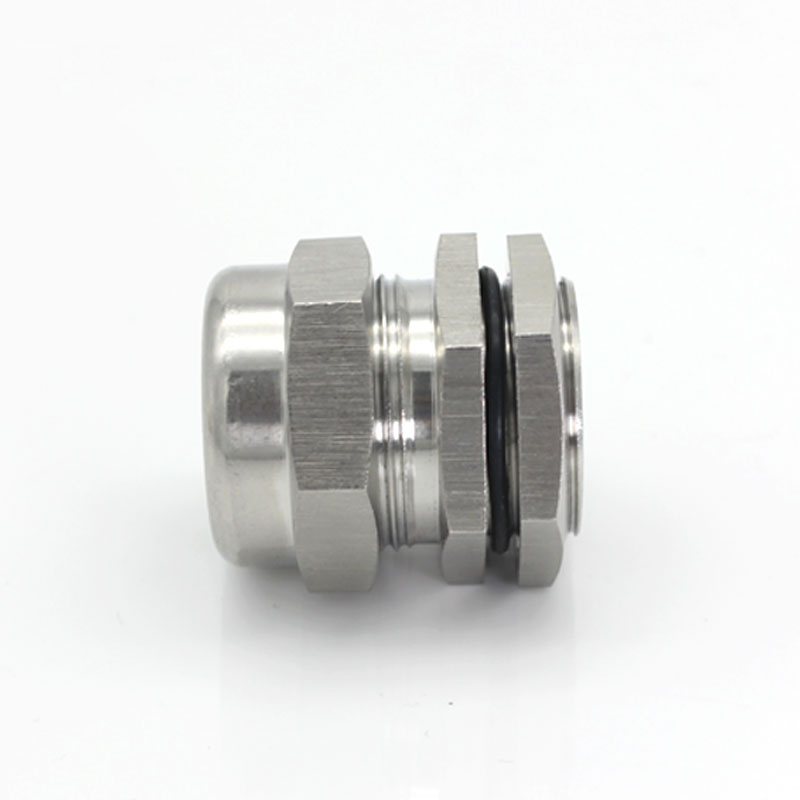
Step 5. Fit the outer seal nut, body and anyway clamping ring
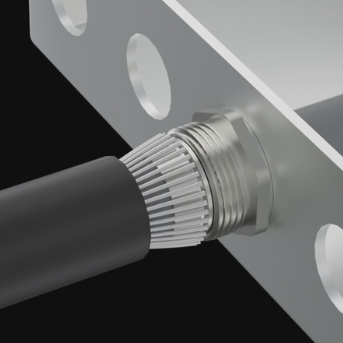
Step 6. Fit the armoured clamping cone
Fit the cone of the cable gland between the inner insulation and armouring. The steel wires need flaring slightly.
Make sure these lay over the cone and do not enter it as this can cause damage to the inner insulation.
Step 7. Use your spanners to tighten each gland part
Slide up the Anyway Clamping Ring, screw the body back to the cone, thereby forcing the
anyway clamping ring up the cone and trapping the wires in place
Step 8. Tighten the lock nut
Seal the back of the armoured cable gland by applying the lock nut.
These compress the internal sealing against the outer insulation, making the armoured cable gland watertight.
Slide the PVC shroud over the gland and you have successfully terminated a wire at an appliance/ box.This is your step-by-step guide on how to install armored cable glands. These are only the essential information you need to know about armoured cable glands.